
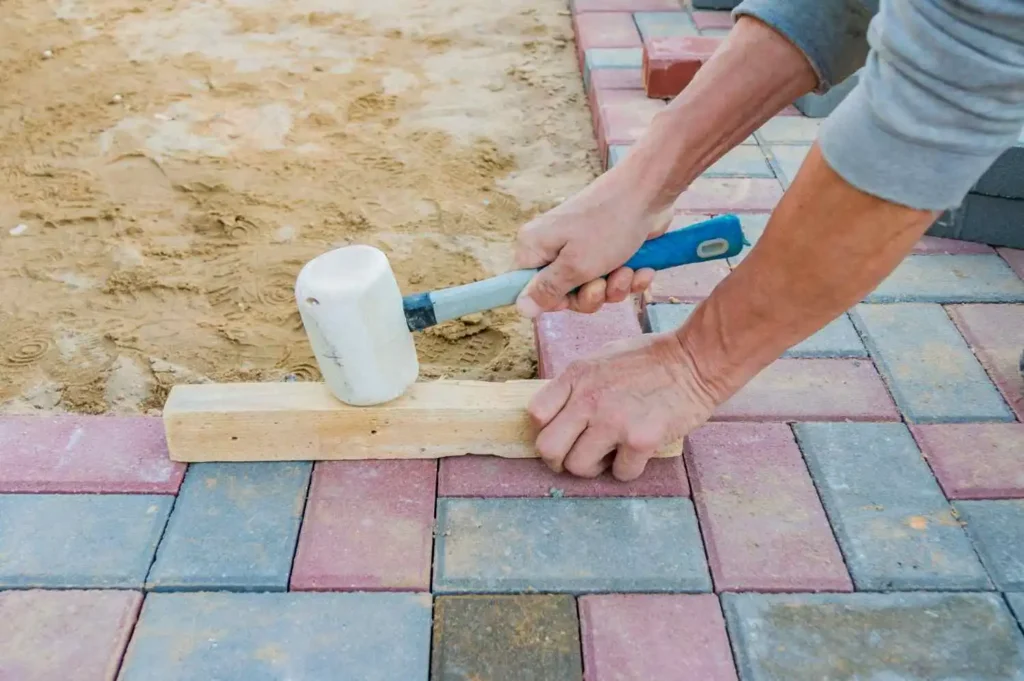
For how to seal pavers with sand, the usual process is to clean and prepare the pavers, fill the joints with polymeric sand, activate the sand with water, let it cure, and then apply a paver sealer. The full process typically takes a few days, depending on the weather, product, and curing time.
Ron Hodges Inc follows this same careful approach for Sand & Seal projects, helping protect paver patios, driveways, and walkways from weeds, stains, shifting joints, and erosion.
What “Sealing Pavers with Sand” Actually Means
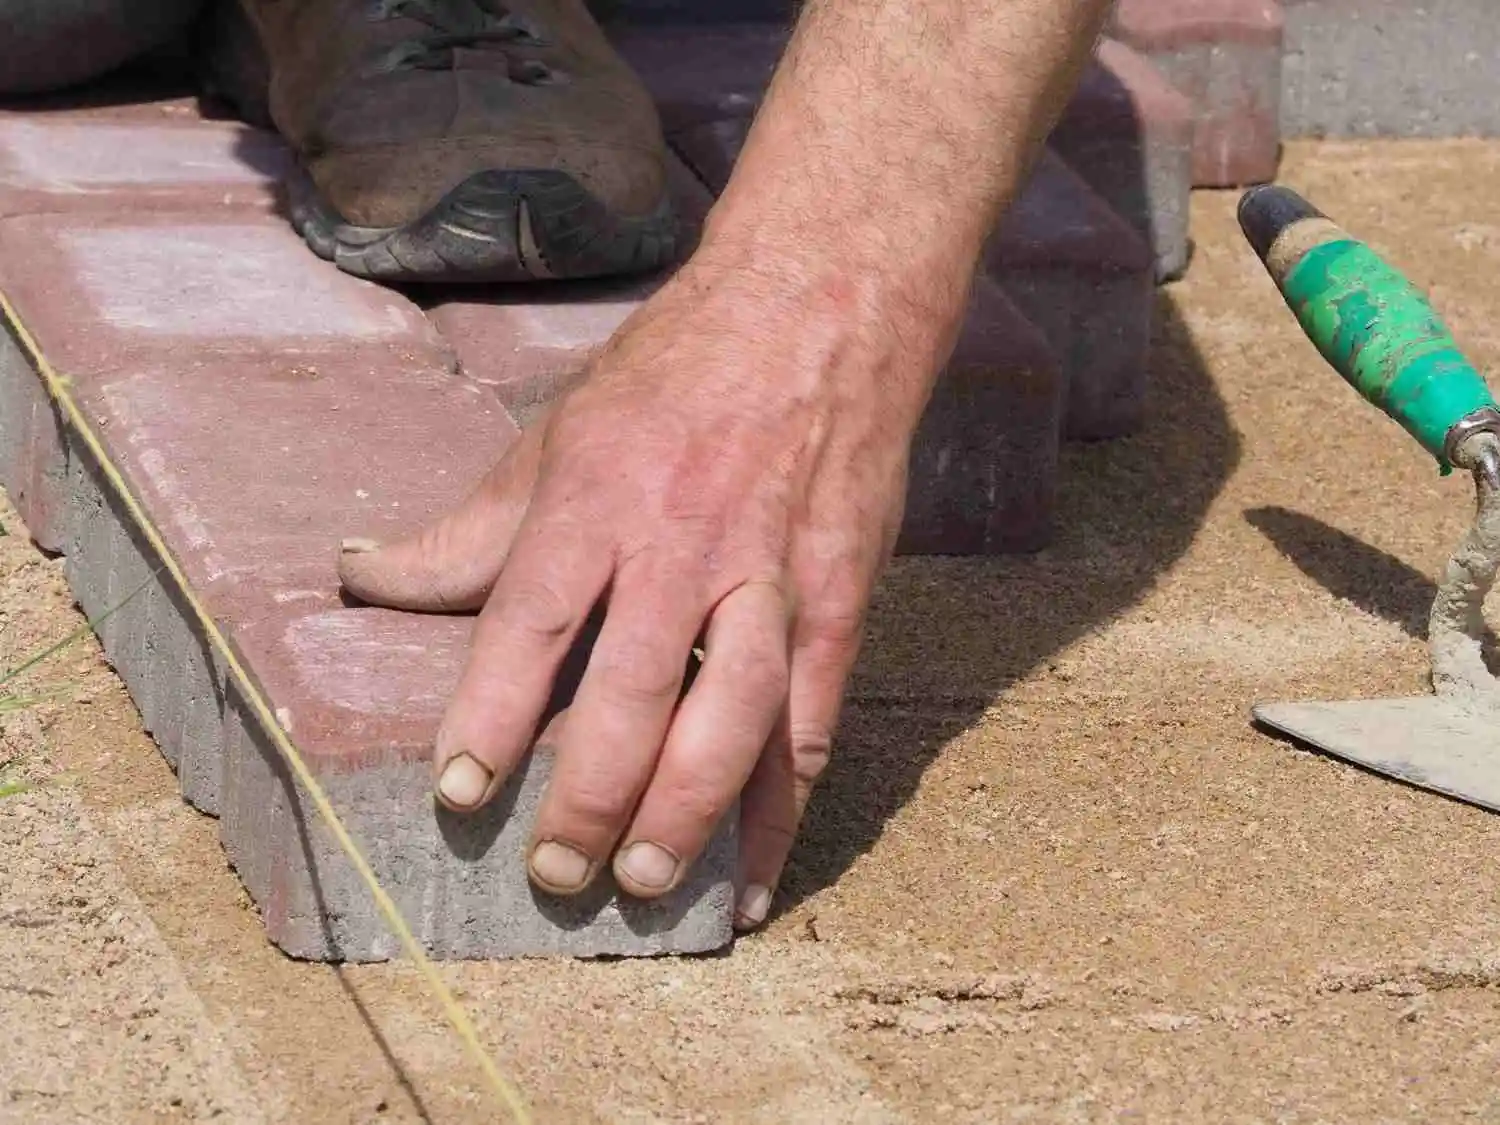
This phrase confuses a lot of homeowners, and that’s fair. It is not one single product or one single step. It is two different jobs working together. First, polymeric sand for pavers goes into the joints between each stone. This is not regular play sand. It has a binding agent mixed in that hardens once it gets wet, locking the joints in place.
Second, a paver sealer application goes over the whole surface, including the hardened sand, to protect against stains, sun damage, and water. Some products combine both jobs into one, known as a sand-locking sealer, which stabilizes the joints and coats the surface at the same time. Knowing which path you are on before you buy anything will save you a wasted trip to the hardware store.
Read more How to Install a Brick Patio
Choose Your Approach Before You Start
This is the step most guides skip, and it is the one that causes the most callbacks for contractors. You have two real options, and they should not be mixed.
Option one: Use polymeric sand in the joints, let it cure fully, then apply a standard paver sealer over the top. This is the most common route and works well for most driveways and patios.
Option two: Use regular, non-polymeric joint sand, then apply a sand-locking sealer that hardens the sand as part of the sealing process. Some manufacturers actually warn against using polymeric sand underneath a sand-locking sealer, because the two products can fight each other and cause a cloudy film once dry.
Pick one path and stick with it. Read the label on your sealer before you buy your sand for sealing pavers. This single decision is really what how to seal pavers with sand comes down to, and it prevents most of the haze and bonding problems homeowners run into later.
Tools and Materials You Will Need
- Polymeric sand for sealing pavers (enough for full joint depth, based on square footage)
- Stiff broom and a smaller hand broom
- Leaf blower
- Garden hose with a fine mist nozzle
- Pressure washer (optional, for heavy cleaning)
- Paver sealer of your choice
- Foam roller or pump sprayer
- Gloves, eye protection, and a dust mask
Step 1: Clean the Pavers Thoroughly
Dirt, algae, and old sand left on the surface will trap moisture under your new sand and sealer, which leads to staining later. Sweep off loose debris first, then wash the pavers with a mild cleaner and water, or a pressure washer set to a wide, low-pressure fan pattern.
Pay close attention to any efflorescence on pavers, that white, chalky film caused by minerals rising to the surface. It needs to be cleaned off, and in some cases it needs time to fade on its own before you seal, or it will get locked in under the finish.
Step 2: Let the Pavers Dry Completely
This step gets rushed more than any other, and it is where a lot of DIY jobs go wrong. The surface might look dry within an hour in Florida heat, but the paver itself can still hold moisture underneath.
If you apply polymeric sand or sealer while that hidden moisture is still there, it can trigger a hazy white film once everything cures. Give your pavers at least a full day of dry, sunny weather before moving forward, longer if it rained heavily in the days before.
Step 3: Remove Old or Loose Joint Sand
Sanding pavers that already have old, cracked joint sand takes a bit more prep work. If you are refreshing an older patio or driveway, pull out the old sand down to the base of the joint. Polymeric sand only works well when it fills the joint at full depth.
A shallow top layer over old sand will not bond properly and tends to crack or wash out within a season. A pressure washer on a narrow tip or a simple joint tool works for this.
Step 4: Sweep In the Polymeric Sand
Pour the sand over the surface and sweep it into the joints with a stiff broom, working it in from multiple directions. Tap the pavers gently with the broom handle or use a plate compactor on larger jobs to help the sand settle fully.
Keep sweeping in sand until it sits about one eighth of an inch below the top of the paver, which matches the standard set by the ICPI, now part of the CMHA, for proper paver joint stabilization. Once the joints are filled, sweep every bit of loose sand off the paver surface, then use a leaf blower held at a low angle to clear the last bit of dust. Any sand left sitting on top will turn into a stain once it gets wet.
Step 5: Activate the Sand with Water
This is where a sand-locking sealer or standalone polymeric sand actually hardens. Set your hose nozzle to a fine mist, not a heavy stream. Spray the joints in short bursts, pausing between each pass to let the water soak in before adding more.
You want the sand fully damp all the way through, not flooded. If you see a milky, white haze forming on the paver surface while watering, you have added too much too fast and pushed the binding polymers out of the joint. Stop, let it dry, and address any residue before it sets.
Step 6: Let the Sand Cure
Cure times vary a lot between brands, and this is where a lot of online advice contradicts itself. Some products are ready for light foot traffic in a few hours. Others need a full 24 to 72 hours before you should walk on them, and some manufacturers recommend waiting several weeks before applying a sealer over the top.
Always check the paver sealer curing time listed on your specific product’s data sheet rather than relying on a general rule. As a safe baseline, plan for at least 24 to 72 hours of cure time before sealing, and longer if your product label says so.
Step 7: Choose the Right Sealer
Once your sand sealing work is fully cured, it is time to pick a finish. The two main types are water-based and solvent-based, and each has a different feel and use case.
| Sealer Type | Finish | Best For | Coverage |
| Water-based | Natural to satin, low odor | Everyday patios, families with kids and pets | Roughly 150 to 300 sq ft per gallon |
| Solvent-based | Deep, glossy wet look paver sealer finish | Driveways, high-traffic areas, color enhancement | Roughly 100 to 250 sq ft per gallon |
Check the paver sealer coverage per gallon listed on your product, since it changes based on how porous your pavers are. A matte finish sealer tends to hide small imperfections better, while a glossy finish makes colors pop but shows dust and footprints more easily.
Step 8: Apply the Sealer
Use a foam roller or pump sprayer and work in small sections so you can keep an even coat without pooling in low spots. Sprayers cover ground fast but need a steady hand near edges to avoid overspray on grass, siding, or pool decks. Rollers give you more control but take longer on large driveways. Either way, apply a thin, even coat rather than a thick one. A heavy coat traps moisture underneath and causes bubbling or peeling later.
Step 9: Cure Time and Aftercare
Give the sealer 24 to 48 hours of dry weather to cure before allowing foot traffic, and longer before cars or heavy furniture go back on the surface. Turn off any sprinklers that hit the area during this window, since early water contact can leave permanent white marks under the fresh sealer.
Common Mistakes That Ruin a Sand and Seal Job
Once you understand how to seal pavers with sand step by step, most of these mistakes are easy to avoid. They come up again and again on older patios and driveways we get called out to fix.
- Sealing before the sand or the pavers are fully dry
- Mixing polymeric sand with a sand-locking sealer not meant to be used together
- Over-wetting the sand and pushing the polymers to the surface
- Pressure washing the same day as sanding instead of waiting
- Starting the job with rain in the forecast within 48 hours
- Sealing brick pavers made of soft, red clay with polymeric sand, which tends to leave permanent stains
Central Florida Considerations
Sanding pavers and sand sealing them in Winter Springs, Oviedo, or Longwood comes with a few local challenges you will not read about in a national guide. Florida humidity slows drying time even on a sunny day, so give every step extra time to fully dry before moving to the next one.
Afternoon thunderstorms roll in fast during summer, which can wreck a sealer job that has not had time to cure. Late fall through early spring tends to give the most reliable stretch of dry days for this kind of project in Central Florida.
Read more How to Clean Pavers Without a Pressure Washer
DIY vs Hiring a Professional
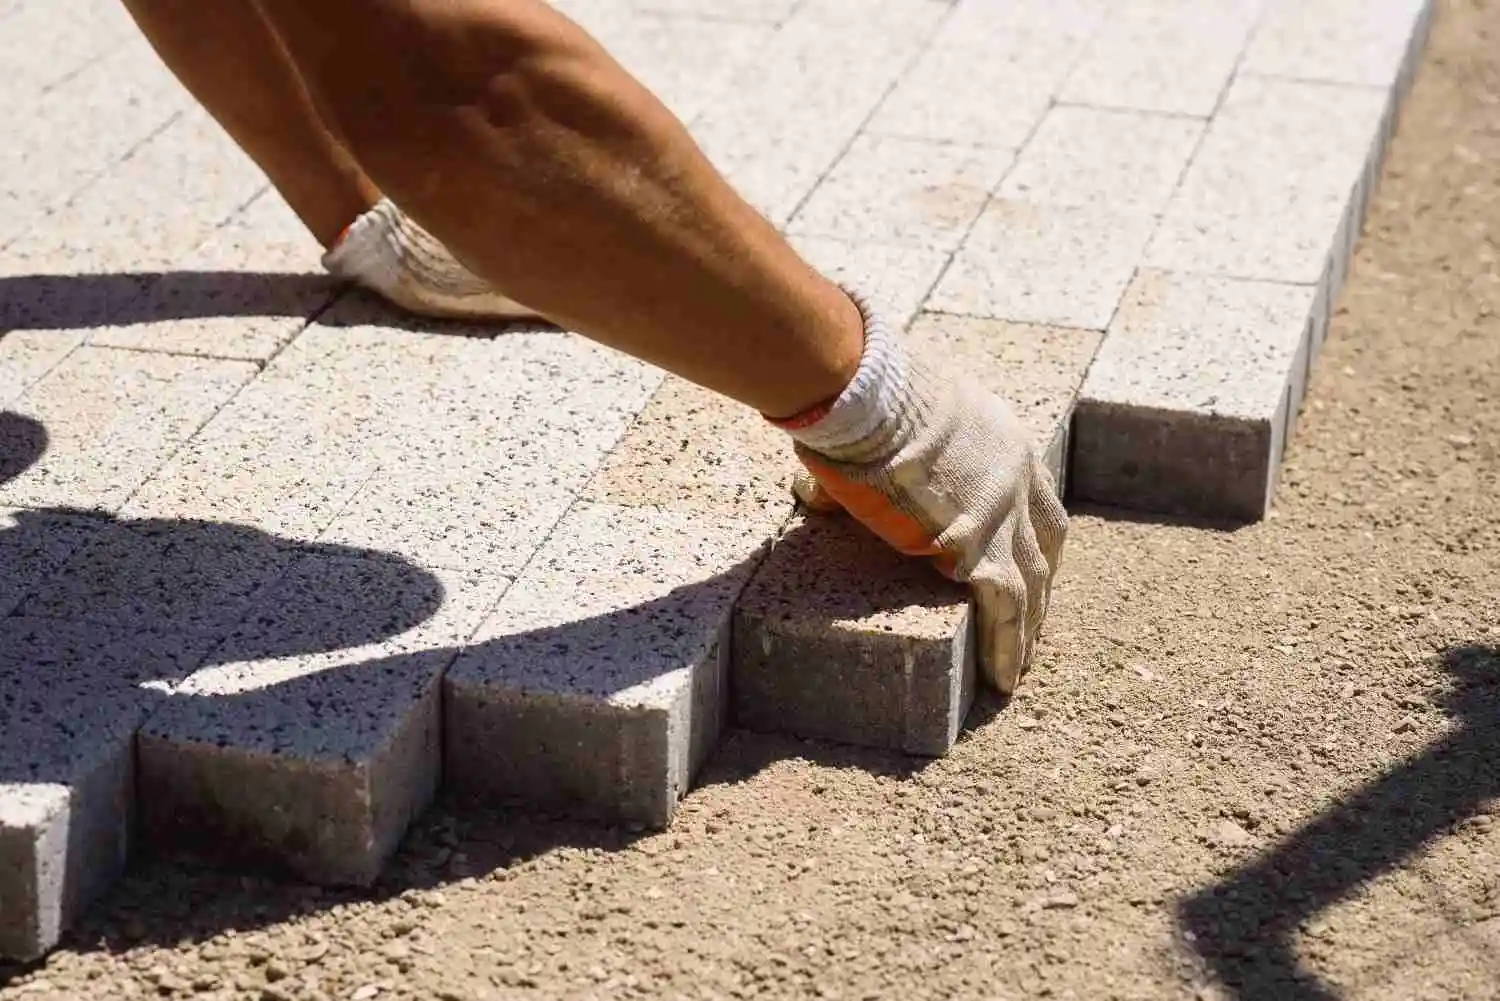
A small walkway is a reasonable weekend project for a patient homeowner. A full driveway, a large pool deck, or an older patio with heavy weed and ant problems is a different story. Getting the timing wrong on a big job means redoing the whole thing, which costs more than hiring it out the first time.
If you want the process done right the first time, Ron Hodges Inc offers professional Sand & Seal service across Winter Springs and the surrounding area, using the right product combination for your specific pavers and joint width.
Final Thoughts
Sealing brick or concrete pavers helps protect your patio or driveway from weeds, ants, stains, and shifting joints. If you’ve learned how to seal pavers with sand, remember that proper cleaning, the right sand, and good timing are the keys to a lasting finish.
If you’d rather have the work done professionally, Ron Hodges Inc provides Sand & Seal services in Winter Springs, FL. Contact us today to schedule your service and give your pavers the protection they need.
FAQs
How long do I wait to seal pavers after applying polymeric sand?
Most products need at least 24 to 72 hours to cure before sealing, though some brands recommend waiting several weeks. Always check your product’s label for the exact number.
Can I use polymeric sand if I am going to seal with a sand-locking sealer?
Not always. Some sand-locking sealers are meant to be used with plain joint sand instead of polymeric sand. Check the sealer’s instructions before you buy your sand.
How often should I reseal pavers?
Most sealed pavers need a fresh coat every three to five years, depending on traffic and sun exposure.
What is the best temperature to seal pavers?
Aim for a dry day between 50 and 90 degrees Fahrenheit, with no rain expected for at least 24 to 48 hours afterward.
Do I need to seal new pavers right away?
No. New pavers usually need 60 to 90 days to settle and let any efflorescence fade before the first sealing.