
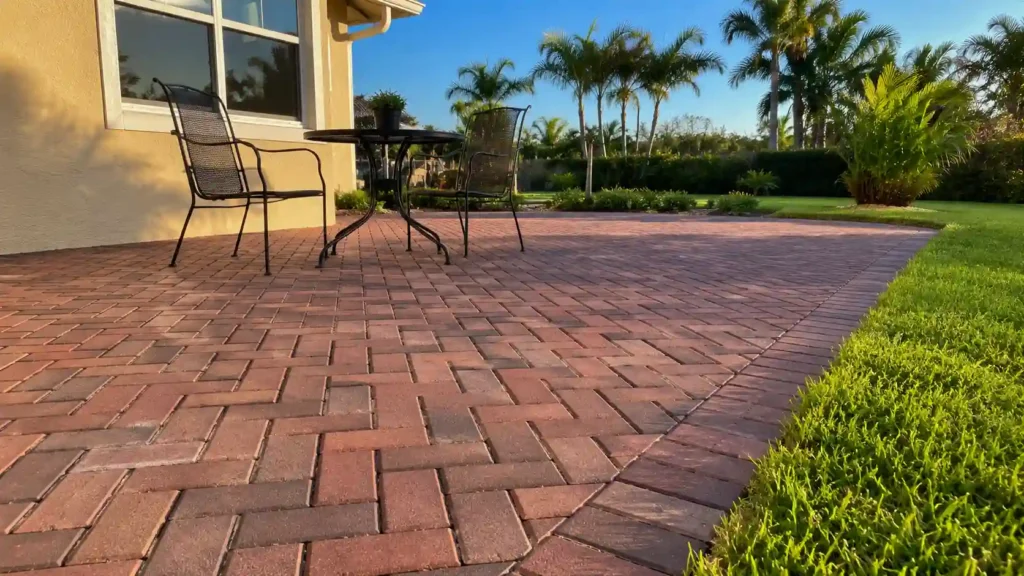
Brick patios can transform a simple backyard into an inviting outdoor room, adding living space, increasing curb appeal, and giving your yard a finished look that lasts decades with proper installation. I have over three decades of experience installing patios in Winter Springs, Oviedo and Longwood that stand the test of time; often what determines their longevity lies before the first brick goes in place.
This guide walks you through how to install a brick patio the same way we approach it on real job sites here in Central Florida. Your goal will be to learn the essential steps of planning, prepping, laying patterning, and finishing joints – you will also receive honest guidance as to whether any project may benefit from hiring professional crew.
Key Takeaways
- Careful brick patio base preparation matters more than the bricks you choose.
- Plan for a slope of about 1/4 inch per foot so water drains away from your home.
- Herringbone patterns interlock the strongest, but need more cuts than running bond.
- Polymeric sand locks joints in place and resists weeds better than plain sand.
- DIY installs can save money, but excavation and compaction are heavy, tiring work.
- A properly built patio can last decades with light seasonal upkeep.
Planning Your Brick Patio
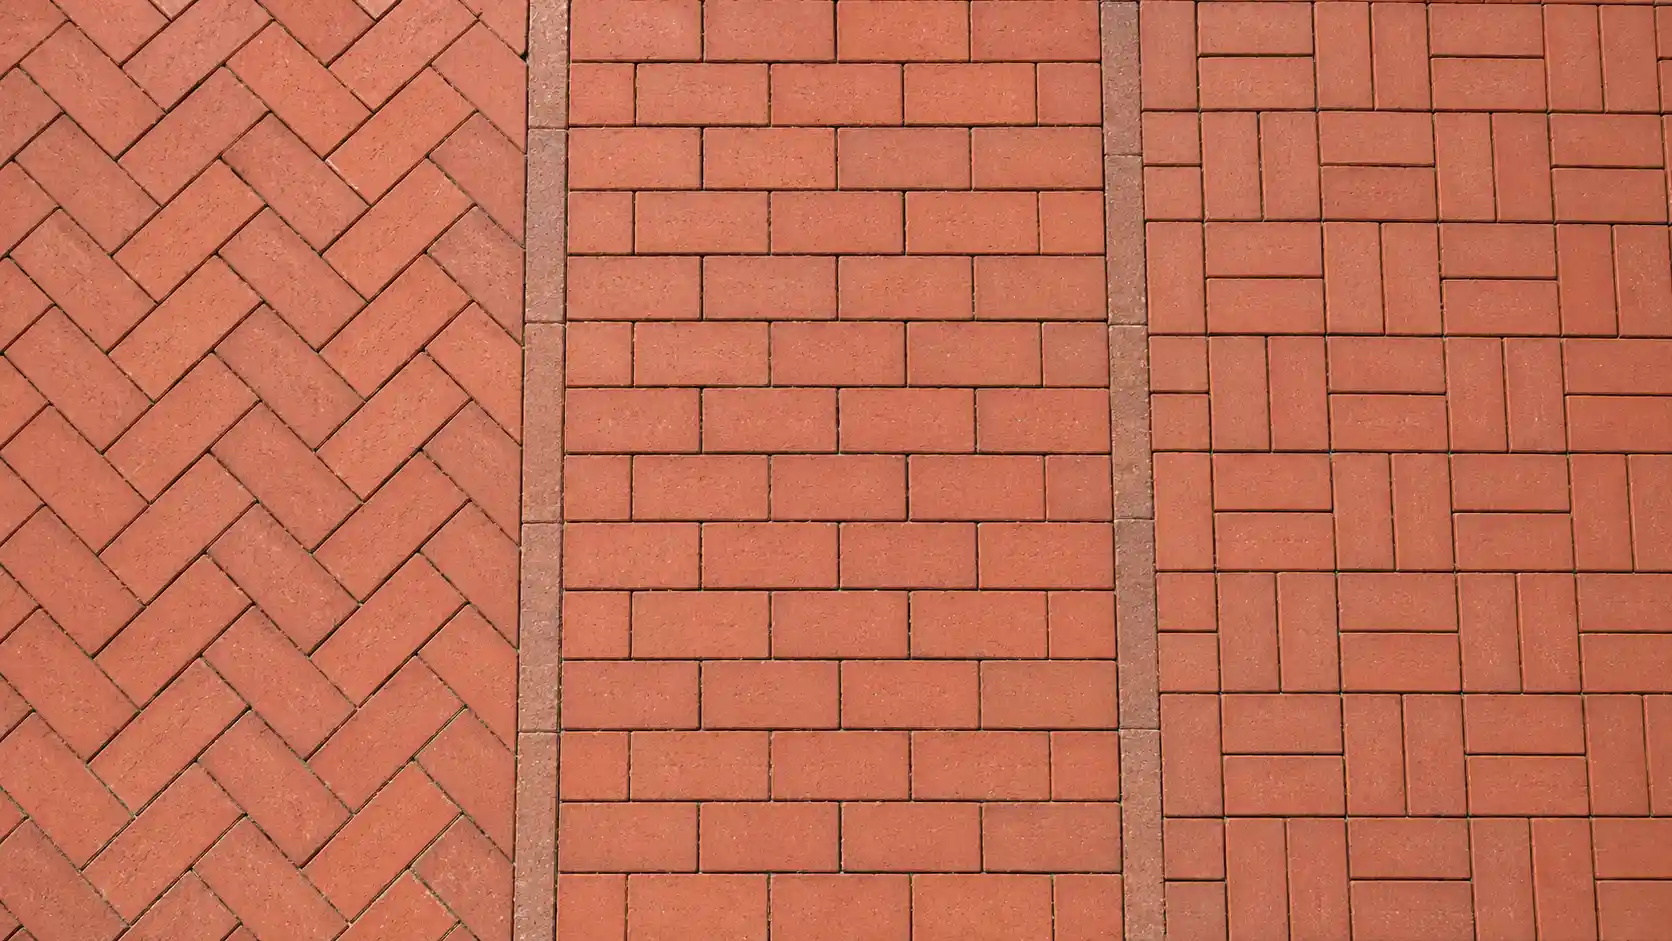
Plan your brick patio with the right layout, materials, base preparation, and design to create a durable and attractive outdoor space that fits your home and lifestyle.
Choosing a Layout and Pattern
Start by picking a brick patio pattern. Running bond is the easiest for a first-time DIY because the bricks line up in simple rows. Herringbone and basket weave patterns look more custom, and herringbone in particular locks bricks together tightly under foot traffic, but both patterns take more cutting and patience.
Sketch your shape on paper first and think about how the patio connects to your doors, walkways, and any existing landscaping.
Measuring Your Space and Planning the Slope
Measure the full area so you know how many bricks and how much base material to order. Every patio needs a gentle slope, about a quarter inch of drop for every foot, so rainwater moves away from your foundation instead of pooling against it. Skipping this step is one of the most common reasons patios flood or shift over time.
Checking Local Rules
Before you touch a shovel, call 811 to have underground utility lines marked on your property. It is a free call and it can save you from a costly mistake. Many cities in Orange and Seminole County also require a permit for larger hardscape projects, so check with your local building department, especially if your patio ties into drainage near the house.
Tools and Materials Checklist
| Tools | Materials |
| Plate compactor | Bricks or pavers (add 10% extra) |
| Rubber mallet | Crushed stone base |
| String line and stakes | Bedding sand |
| Carpenter’s level | Polymeric sand |
| Masonry saw or brick chisel | Edge restraints |
| Shovel and rake | Landscape fabric |
| Wheelbarrow | Weed barrier pins |
| Broom |
Having the right gear staged ahead of time is one of the simplest parts of how to install a brick patio, but it saves you from stopping mid-project for a trip to the store. A plate compactor is worth renting even for a small patio. Hand tamping alone rarely compacts the base deep enough to prevent settling later.
How Much Material Do You Need
Before you order anything, do the math so you are not left short on your delivery day. This part of how to install a brick patio is where a lot of DIY guides fall short, so here is a simple way to work it out.
For crushed stone patios, multiplying their square footage by 0.0125 will provide an approximate estimate of cubic yards needed for a 4-inch base layer. When multiplying square footage times 0.0031 for bedding sand layers (1 in thickness). Finally, to estimate brick patio coverage accurately divide patio area by the amount covered by one brick then add 10% for cuts and waste.
Example: for a 200 square-foot patio, approximately 2.5 cubic yards of crushed stone and 0.6 cubic yards of bedding sand will be needed, plus sufficient bricks to cover an additional area of 220 square feet when taking waste into account. It is always less costly to order extra material rather than pay twice for delivery fees.
Step-by-Step Brick Patio Installation
These are the core DIY brick patio steps we follow on every job, scaled down for a homeowner working alone or with one helper.
Step 1: Mark and Square the Layout
Drive stakes at each corner and run string lines to outline the patio. Check that it is square by measuring both diagonals. If the two measurements match, your corners are true. This five minute check prevents crooked rows later on.
Step 2: Excavate to the Proper Depth
Dig out the area to about 7 to 8 inches deep for a patio, extending a few inches past your string lines for the edge restraints. Florida’s sandy soil digs easily but does not hold a shape well, so work in small sections and keep checking your slope as you go.
Step 3: Lay and Compact the Crushed Stone Base
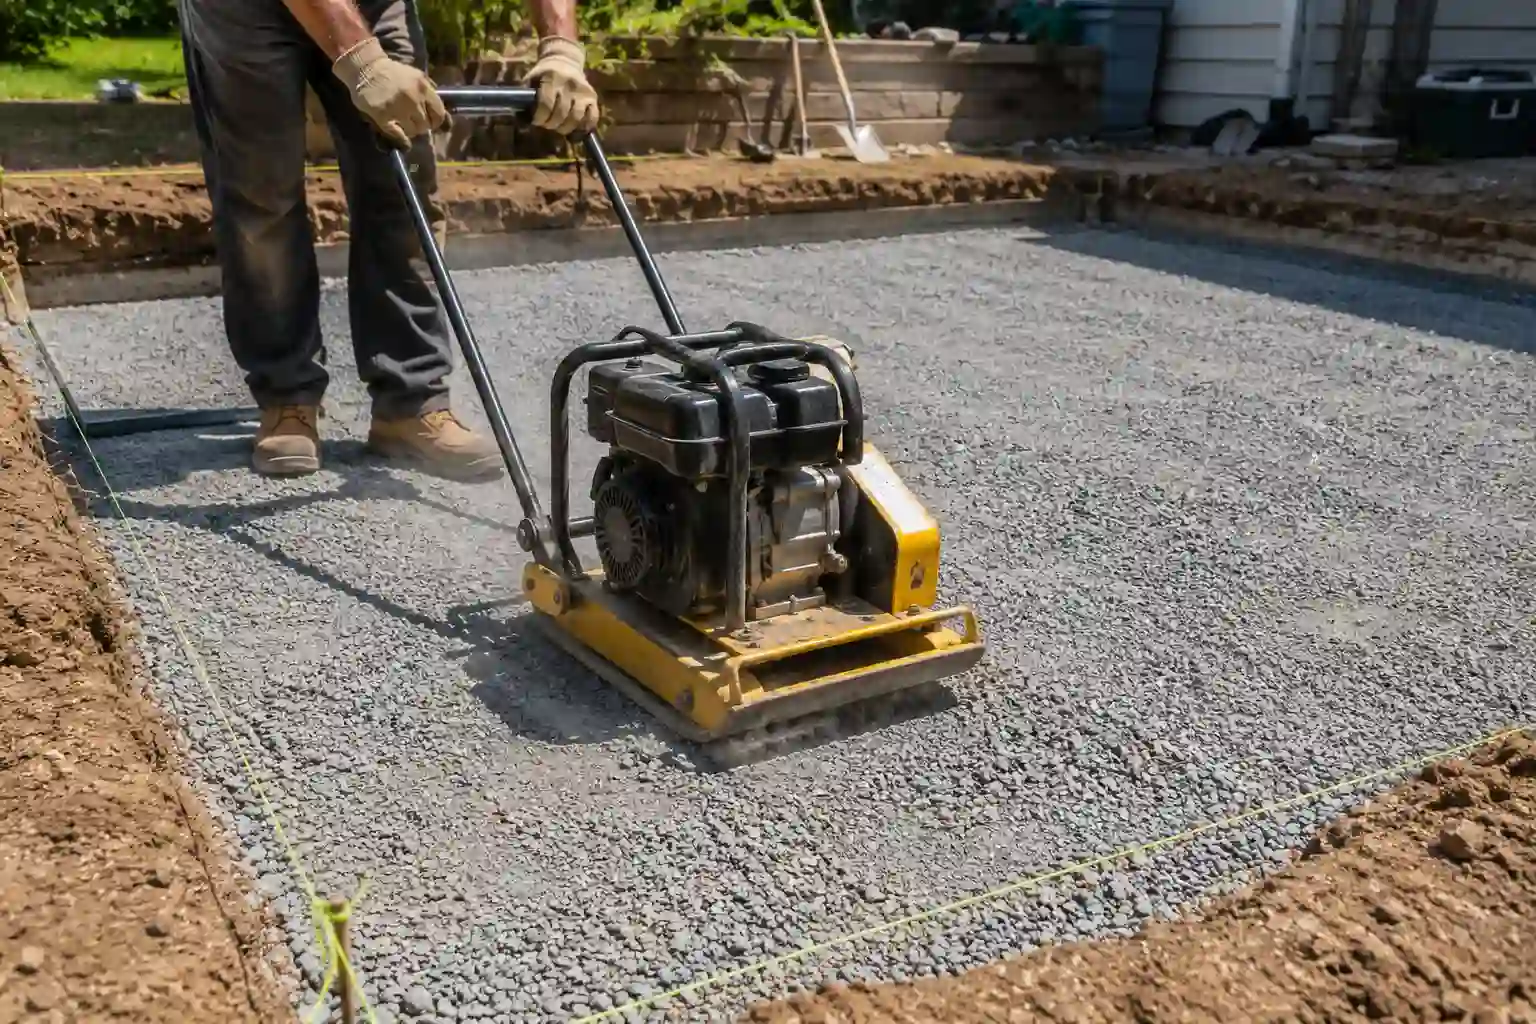
This is the heart of brick patio base preparation. Spread the crushed stone in 2 inch layers and run the plate compactor over each layer before adding the next. Rushing this step is the number one reason patios sink or shift within a year or two.
Step 4: Add and Screed the Bedding Sand
Pour a 1 inch layer of sand over the compacted base. Use a straight board resting on guide rails to screed it level. Work carefully here, since the sand bed sets your final surface height and slope.
Step 5: Lay the Brick Pavers in Pattern
Start at a straight edge, ideally against a wall or existing hardscape. Set each brick directly into the sand without hammering it, keeping a small, even gap between pieces. Check your string line often to keep rows straight.
Step 6: Cut Pavers for Edges and Curves
Use a wet masonry saw for clean cuts along curves or borders. Mark each piece before cutting, and always wear eye and ear protection. A chisel and hammer can handle a few cuts if you do not want to rent a saw.
Step 7: Install Edge Restraints
Paver edge restraints hold the whole field of bricks together over time. Anchor plastic or metal restraints along the perimeter with spikes driven every foot or so. Skipping this step almost always leads to edge bricks drifting apart within a season.
Step 8: Apply Polymeric Sand and Compact Joints
Sweep polymeric sand into every joint until they are full, then run the compactor over a protective pad to settle it further. Lightly mist the surface with water to activate the sand, following the product’s directions closely.
Step 9: Seal the Patio
Sealing is optional, but it deepens the brick color and adds some stain resistance. Wait about a week after installation before applying a sealer, so the joints have time to fully cure. That wraps up the full set of DIY brick patio steps, from layout to finished surface.
DIY vs. Hiring a Professional
A DIY brick patio can absolutely save you money if you have the time, a helper, and access to a plate compactor. Expect two to four days of real physical labor for an average size patio, most of it in excavation and compaction. It is not complicated work, but it is demanding on your back and knees.
Where most DIY patios go wrong is base depth and slope. A professional crew from Ron Hodges Inc has the equipment and experience to get the compaction and drainage right the first time, which is the single biggest factor in how long a patio actually lasts. If your project involves a large area, a steep slope, or ties into existing drainage, it is worth getting a quote before you commit to doing it yourself.
Brick Patio Cost Guide for Winter Springs and Central Florida
| Approach | Cost per Square Foot |
| DIY materials only | $8 to $16 |
| Professional installation | $18 to $32 |
Prices shift based on brick type, pattern complexity, and site prep needs. Herringbone and other cut-heavy patterns run higher on labor. Local supplier pricing and any permit fees can also move the total, so it is worth getting a written quote before you budget your project.
Common Mistakes to Avoid
These common mistake should be avoid during the install the brick patio:
- Skipping full compaction of the gravel base, layer by layer
- Ignoring the 1/4 inch per foot slope, which leads to standing water
- Leaving out edge restraints along the border
- Using the wrong sand type in the joints
- Digging too shallow and running out of room for the base and bedding sand
Most patio failures trace back to one of these five mistakes. None of them are hard to avoid once you know what to watch for, and avoiding them is really the whole secret behind how to install a brick patio that stays flat and solid for years.
Maintenance and Longevity Tips
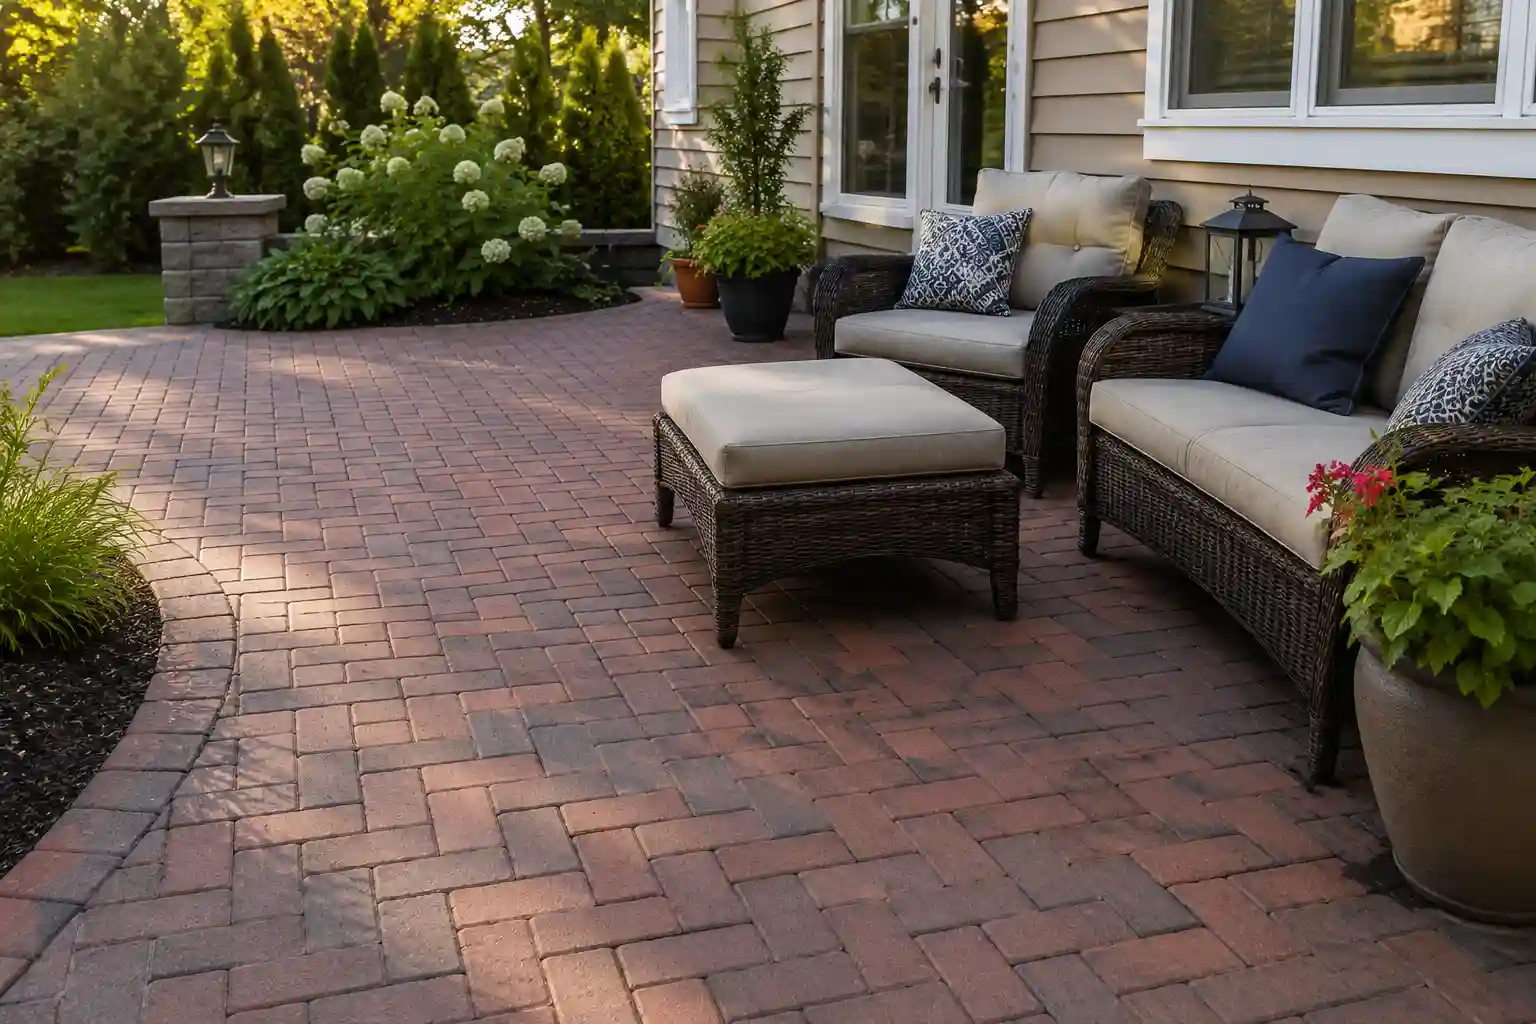
These brick patio maintenance tips will keep your patio in top condition throughout Florida’s heat and rain. Clean away debris regularly before giving the surface a light power wash with either a hose, power wash, or light power rinse every few weeks or months.
Check joints every spring, refill with polymeric sand wherever it has washed away due to rainwater washing away polymeric sand from its joints, remove weed roots before they take hold in joints, lift any brick that settles or shifts by lifting, adjusting its base sand underneath and then resets level again.
Sealing every two to three years helps preserve color and surface from Florida rainstorms while weatherproofing helps prolong patio’s new appearance well past its 10th year anniversary! By adhering to these brick patio maintenance tips year after season these brick patio maintenance tips ensure its lasting beauty well
Final Thoughts
Learning how to install a brick patio is one of the more rewarding backyard projects a homeowner can take on, and with careful base prep and the right materials, it can last for decades. If the scope feels bigger than you expected once you start digging, that is completely normal, and it is exactly the kind of job our crew handles every week.
Not ready to DIY? Contact us today for a free quote from Ron Hodges Inc. for professional paver installation in Winter Springs, Oviedo, and Longwood. Let’s create a durable, attractive outdoor space that’s built to last.
FAQs
How deep should the base be for a brick patio?
For a solid brick patio, plan for about 4 inches of compacted crushed stone and 1 inch of bedding sand. This usually means excavating around 7 to 8 inches, depending on the site and existing ground conditions.
What’s the best sand for brick patio joints?
Polymeric sand is a great choice for brick patio joints. It hardens when activated with water, helps keep the bricks in place, and reduces weed growth between the joints.
How much does it cost to install a brick patio in Florida?
Costs vary based on the patio size, design, materials, and site conditions. DIY materials may cost around $8–$16 per square foot, while professional installation can range from $18–$32 per square foot.
Can I install a brick patio myself?
Yes, smaller brick patio projects can be DIY-friendly if you have the right tools and time. Keep in mind that digging, leveling, and properly compacting the base can be physically demanding and require careful preparation.
How long does a brick patio installation take?
A smaller DIY patio may take two to four days, depending on the size and your experience. With professional help, a similar project may be completed in about one to two days when site conditions are straightforward.
Do I need a permit to install a patio in Winter Springs or Seminole County?
Permit requirements can vary depending on the project, size, location, and construction details. It’s best to check with the local building department before starting, particularly for larger patios or projects close to your home.